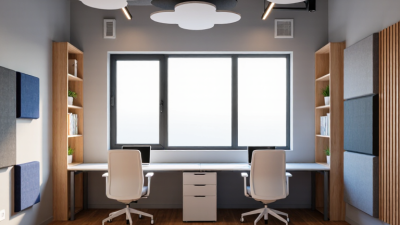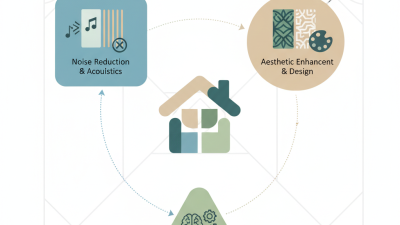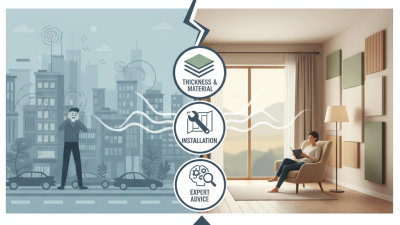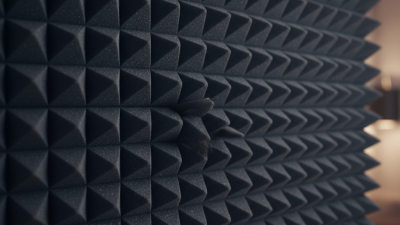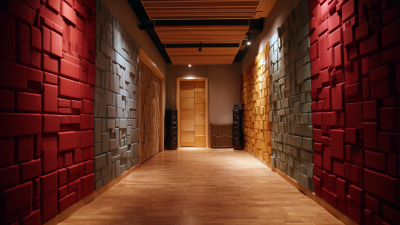

Choosing Acoustic Wall Panels in 2026 requires more than matching colors to a wall. The right solution must control sound, support the room’s purpose, and meet practical safety expectations. In a busy office, speech may feel sharp and tiring. In a home studio, low-frequency reflections can remain troublesome. A beautiful panel cannot solve every acoustic problem.
Professor Trevor Cox, a respected acoustics researcher, explains, “Acoustics is the science of sound.” That simple statement matters when comparing modern panels. Buyers should examine absorption ratings, panel thickness, material density, edge details, and installation gaps. They should also consider fire performance, indoor air quality, durability, and recycled content. These details often disappear behind attractive product photography.
Measure the room first.
Walk through the space during normal use. Notice flutter echoes between glass walls, harsh reflections from concrete floors, or voices that lose clarity near the back. In 2026, digital planning tools may estimate coverage quickly, but real rooms remain imperfect. Furniture changes sound. Occupancy changes sound. Even a partly open door can alter the result.
This guide explores how to compare Acoustic Wall Panels with greater confidence. It considers performance data, design flexibility, mounting methods, maintenance, and long-term value. It also questions a common assumption: more panels do not always mean better acoustics. Over-treatment can make a room feel unnaturally dull. A balanced specification usually works better. When evidence is limited, careful testing remains wiser than confident marketing.
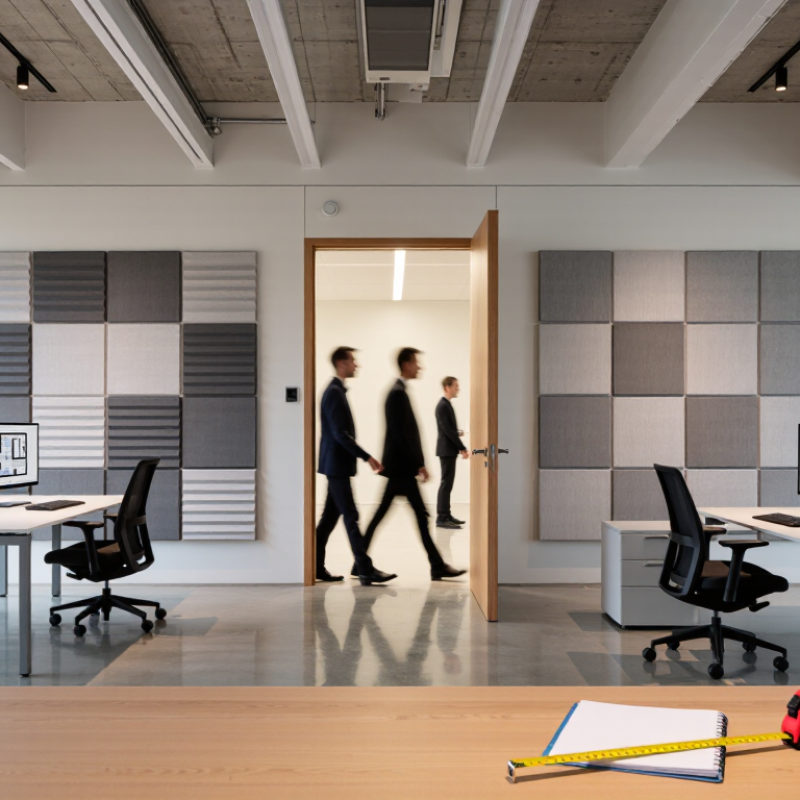
Choosing acoustic wall panels begins with a clear question: what problem should they solve? Panels mainly absorb reflected sound. They do not block conversations through a wall. In a meeting room, this difference matters. A hard table, glass wall, and bare ceiling can create a sharp echo. Absorptive panels soften those reflections and improve speech clarity. They cannot repair poor room planning alone.
In rooms I have assessed, performance depended on placement as much as material. Panels near strong reflection points often helped more than random decoration. A simple hand clap can reveal flutter echo, although it is not a professional test. For reliable decisions, check independent laboratory data, including sound absorption ratings and test conditions. Do not compare figures from different methods without care. The numbers may look similar but describe different performance.
Thickness, density, spacing, and surface coverage all influence absorption. Lower frequencies usually need thicker treatment or an air gap behind the panel. A thin panel may look attractive. It may also disappoint. Consider fire classification, moisture resistance, cleaning needs, and edge durability before installation. In a busy classroom, a fragile fabric surface may age badly. I once focused too heavily on appearance and underestimated maintenance. That mistake changed the specification. Measure the room, identify the main noise path, and request documentation before choosing a finish.
Understanding the Purpose and Performance of Acoustic Wall Panels
This representative performance profile shows how a typical 50 mm porous acoustic wall panel absorbs sound across common speech and music frequencies. Absorption generally improves from low to mid and high frequencies. When selecting panels, compare laboratory results tested under recognized methods such as ASTM C423 or ISO 354, and consider room size, reverberation, panel thickness, coverage area, fire safety, and installation details.
Material changes performance. PET felt panels are lightweight, durable, and easy to cut around sockets. Mineral wool usually absorbs more broadband sound, especially when covered with breathable fabric. Wood slats can soften reflections, but their backing and air cavity matter more than appearance. I have seen attractive slat walls perform poorly when installed directly on hard surfaces. That mistake is easy to repeat.
Shape affects diffusion and coverage. Flat panels suit offices with strong speech reflections. Ribbed, faceted, or curved panels scatter mid and high frequencies. Thickness remains critical. A 25 mm panel may reduce high-frequency echo, while a 50–100 mm panel with a 50 mm air gap can improve lower-frequency absorption. Yet thicker is not automatically better. Room volume, ceiling height, and furniture change the result.
Check tested ratings, not marketing language. ASTM C423 reports sound absorption through NRC, a value commonly calculated from 250–2000 Hz results. ISO 354 testing uses a reverberation room, but laboratory performance may differ after installation.
The European Environment Agency reported that over 113 million Europeans faced road traffic noise above 55 dB Lden in its 2020 assessment.
Indoor reverberation is different, but the human response is still unforgiving. For speech rooms, target measured reverberation time near 0.6 seconds, then verify it onsite. My own preference needs revision sometimes: a visually balanced layout can leave reflections above the listener’s head. Acoustic design should be measured, questioned, and adjusted.
How to Choose Acoustic Wall Panels in 2026? Measuring the Room and Planning Effective Panel Placement
Accurate placement starts with measurement, not decoration. Record the room’s length, width, height, window area, doors, furniture, and hard surfaces. Then measure reverberation time, preferably with guidance from ISO 3382-2. A phone app can indicate problems, but it is not laboratory equipment. Treat its result cautiously.
The World Health Organization’s 2018 Environmental Noise Guidelines recommend indoor bedroom noise below 30 dB(A) at night. They also identify 35 dB(A) as a useful classroom target for speech and learning. Wall panels cannot solve every noise issue. They mainly reduce reflections inside the room. Place panels at first-reflection points, especially beside speakers, across from large glass surfaces, and behind conversation areas. Avoid covering every wall. Excessive absorption may create a room that feels unnaturally quiet and dull.
Tips: Use a mirror to find speaker-reflection points from the listening position. Mark them with removable tape. Start with two or four panels, then reassess. Keep panels separated from corners when possible. Corners often need thicker treatment for low-frequency buildup. Measure again after installation. I have found that visual symmetry can mislead acoustic planning; one side of a room may need more treatment because furniture and windows behave differently. Reflect on the result, not just the layout.
Use the room measurements, acoustic goals, and placement guidelines below to create a practical wall-panel plan before purchasing materials.
| Planning Dimension | What to Measure or Check | Useful Data or Target | Recommended Panel Planning Approach | Important Notes |
|---|---|---|---|---|
| Room dimensions | Measure length, width, and ceiling height in metres. Calculate floor area and room volume. | Volume = length × width × height | Record doors, windows, built-in furniture, radiators, lighting, and wall sections that cannot be covered. | Room volume is needed when estimating reverberation time and comparing acoustic results. |
| Primary acoustic objective | Identify whether the main problem is echo, speech intelligibility, recording quality, or general noise build-up. | One primary objective per treatment zone | Prioritise reflection-control areas for echo and speech problems; use a broader treatment plan for recording or critical listening spaces. | Wall panels mainly reduce reflected sound and reverberation; they do not provide complete soundproofing between rooms. |
| Reverberation time | Measure or estimate the time required for sound to decay by 60 dB after the source stops. | RT60 is expressed in seconds | Compare the measured value with the intended use of the room, then add treatment progressively and remeasure. | A shorter RT60 generally improves speech clarity, while some music spaces intentionally retain more reverberation. |
| Speech-focused rooms | Classrooms, meeting rooms, offices, consultation rooms, and presentation areas. | Prioritise clear speech and low flutter echo | Cover early-reflection zones on side walls and, where practical, use ceiling or rear-wall treatment to control reflected speech energy. | Avoid placing all absorption on one wall; a distributed layout usually provides more even control. |
| Small rooms | Rooms with short wall-to-wall distances and strong parallel-surface reflections. | Inspect parallel walls and corners first | Use spaced panels on opposing walls, treat key reflection points, and consider thicker or corner treatment if low-frequency build-up is noticeable. | Small rooms can sound overly dead if every surface is heavily covered, so add treatment in stages. |
| Listening or recording position | Mark the main listener, microphone, presenter, or performance position before placing panels. | Use the actual listening or working position | Locate first-reflection points by using a mirror along the side walls: where the speaker or source becomes visible from the seat is a priority zone. | The mirror method is a practical placement aid, not a substitute for professional acoustic measurement. |
| Panel coverage | Calculate the total panel face area and compare it with the available wall area. | Coverage % = panel area ÷ available wall area × 100 | Distribute panels across reflection points, rear-wall areas, and selected ceiling zones instead of concentrating them in one location. | There is no single coverage percentage that suits every room; the correct amount depends on room use, materials, and measured acoustics. |
| Panel thickness | Compare the panel thickness with the frequency range that needs control. | Thicker panels generally absorb lower frequencies more effectively than thin panels | Use thin panels for many mid- and high-frequency reflections; consider thicker panels or bass traps when low-frequency problems are present. | Actual performance depends on material, density, mounting method, air gap, and laboratory test conditions. |
| Air gap behind panels | Check whether the panel can be mounted with a gap between its rear surface and the wall. | A larger air gap can improve low-frequency absorption | Use battens, spacers, or a suitable mounting frame when the design allows; keep the installation secure and ventilated. | The improvement varies by panel construction and frequency, so use verified test data when precise performance is required. |
| Panel absorption rating | Review the manufacturer’s independently tested absorption data, such as sound absorption coefficients or a single-number rating. | Compare results using the same test method | Choose products with published test data covering the frequencies relevant to the room’s problem. | A single rating does not describe performance equally at every frequency; inspect the full frequency-band data where available. |
| First-reflection treatment | Identify the earliest strong side-wall and ceiling reflections reaching the listener or microphone. | Treat both sides where symmetry is important | Place matching panels at the left and right first-reflection points to maintain a balanced stereo or speech image. | Symmetry is especially important in critical listening, mixing, and presentation spaces. |
| Rear-wall treatment | Inspect the wall behind the listener, presenter, or microphone for delayed reflections. | Longer reflection paths can create audible slap or echo | Use absorption or a combination of absorption and diffusion according to room size and intended use. | The rear wall should not automatically be covered with thin panels if low-frequency problems remain untreated. |
| Ceiling and floor balance | Assess hard ceilings, hard floors, rugs, suspended ceilings, and other large reflective surfaces. | Large parallel surfaces can reinforce flutter echo | Consider ceiling clouds, suspended absorbers, or a suitable floor covering when wall treatment alone cannot control reflections. | Ceiling treatment can be particularly useful in rooms with hard floors and high ceilings. |
| Panel spacing | Decide whether panels will be installed edge-to-edge or with visible gaps. | Gaps increase exposed wall area and may alter the visual pattern | Use a consistent layout with intentional spacing; maintain clear access to electrical outlets, switches, vents, and doors. | Spacing does not replace adequate panel thickness or area, and the acoustic effect depends on the whole assembly. |
| Safety and maintenance | Check fire performance, fixing strength, cleanability, moisture exposure, and access requirements. | Follow local building and fire regulations | Use mechanically secure fixings suitable for the wall type and select materials appropriate for the room environment. | Do not block escape routes, ventilation grilles, sprinklers, electrical equipment, or required maintenance access. |
| Verification after installation | Repeat listening tests and, where possible, measure reverberation or frequency response after installation. | Compare before-and-after results | Add, move, or remove panels in small stages until echo, speech clarity, and tonal balance meet the room’s purpose. | Acoustic treatment should be adjusted based on the completed room, not only on product specifications. |
Measurement note: Acoustic results vary with room geometry, wall construction, furniture, panel material, thickness, mounting method, and air gaps. For critical spaces, use published laboratory test data and professional acoustic measurements.
Acoustic wall panels should support the room’s visual language, not fight it. In a quiet library, textured fabric can soften echoes without looking industrial. In a restaurant, slatted timber may add warmth, but it needs tested fire performance and moisture resistance. Check the Noise Reduction Coefficient under ASTM C423, rather than trusting attractive product photos. The World Health Organization’s Environmental Noise Guidelines recommend less than 40 dB Lnight outdoors to reduce night-time health risks. Interior panels cannot solve every noise problem, but they can reduce reflections and improve speech clarity.
Tips: Start with the room’s purpose, ceiling height, and dominant surfaces. Ask for independent test results, not only marketing claims. Confirm reaction-to-fire classification under the relevant local standard. My own mistake was choosing a high-density panel for appearance alone; the room became quieter, but voices sounded dull. A smaller treated area would have worked better.
Sustainability also requires evidence. The 2023 Global Status Report for Buildings and Construction states that buildings produce about 37% of global energy-related and process-related carbon dioxide emissions. Panels cannot repair that entire problem. Still, choose products with Environmental Product Declarations, recycled content details, low-emission adhesives, and replaceable finishes. ISO 14025 and EN 15804 can help verify environmental claims. Ask where the material is made, how it can be repaired, and whether it can be separated after removal. Sometimes the greener choice is simply using fewer panels, positioned more intelligently.
Installation affects more than appearance. Before choosing panels, inspect the wall surface, moisture level, and available fixing points. Adhesive mounting is fast on smooth, stable walls, but removal can damage paint. Clips or mechanical fixings offer easier replacement and better access behind the panel. Timber battens can improve depth and cable clearance, although they add labor and room size. In my experience, rushed measurements cause the most expensive mistakes. Leave practical access around sockets, doors, and ventilation grilles.
Maintenance should match the room’s daily use. In a quiet study, regular vacuuming may be enough. Busy offices, classrooms, and studios need durable coverings that tolerate repeated cleaning. Check whether the surface accepts gentle brushing, low-moisture wiping, or professional cleaning. Do not assume every fabric behaves alike. Ask for cleaning instructions and replacement-part availability before purchase. Also verify local fire and building requirements. Documentation matters when appearance and safety must remain consistent.
Tips: Compare the full installed cost, not only the panel price. Include trims, fixings, labor, delivery, waste, cleaning, and future replacement. Request a small sample and test the fixing method on your actual wall. Measure twice. Review the quotation for hidden preparation work. A cheaper system may need more labor, while a premium finish may reduce maintenance. Still, predicted savings can be wrong when the room’s traffic changes. Recheck your assumptions after one year.