Please ensure Javascript is enabled for purposes of website accessibility

Top 10 DIY Acoustic Panels for Soundproofing Your Home Studio

In recent years, the importance of sound quality in home studios has gained significant attention, prompting many enthusiasts and professionals alike to explore efficient soundproofing solutions. According to a report by the Acoustical Society of America, improper acoustics can severely impact recording quality, leading to less than optimal results in audio production. As such, implementing effective sound treatments, such as DIY acoustic panels, has become a popular endeavor for those looking to enhance their workspace without breaking the bank.

DIY acoustic panels not only serve the practical purpose of reducing noise and echoes in a home studio but also allow for personalization in design and aesthetics. A survey by the Home Recording Studio Association indicated that a staggering 70% of home studio owners are interested in using custom solutions tailored to their specific space and needs. This presents an exciting opportunity for individuals to engage in creative projects that enhance their sound environment while reflecting their personal style.

Top 10 DIY Acoustic Panels for Soundproofing Your Home Studio

As we delve into the top 10 DIY acoustic panels, we will explore various materials and techniques that can be easily utilized to transform a simple room into a professional-sounding studio.

Essential Materials for Creating Your Own Acoustic Panels

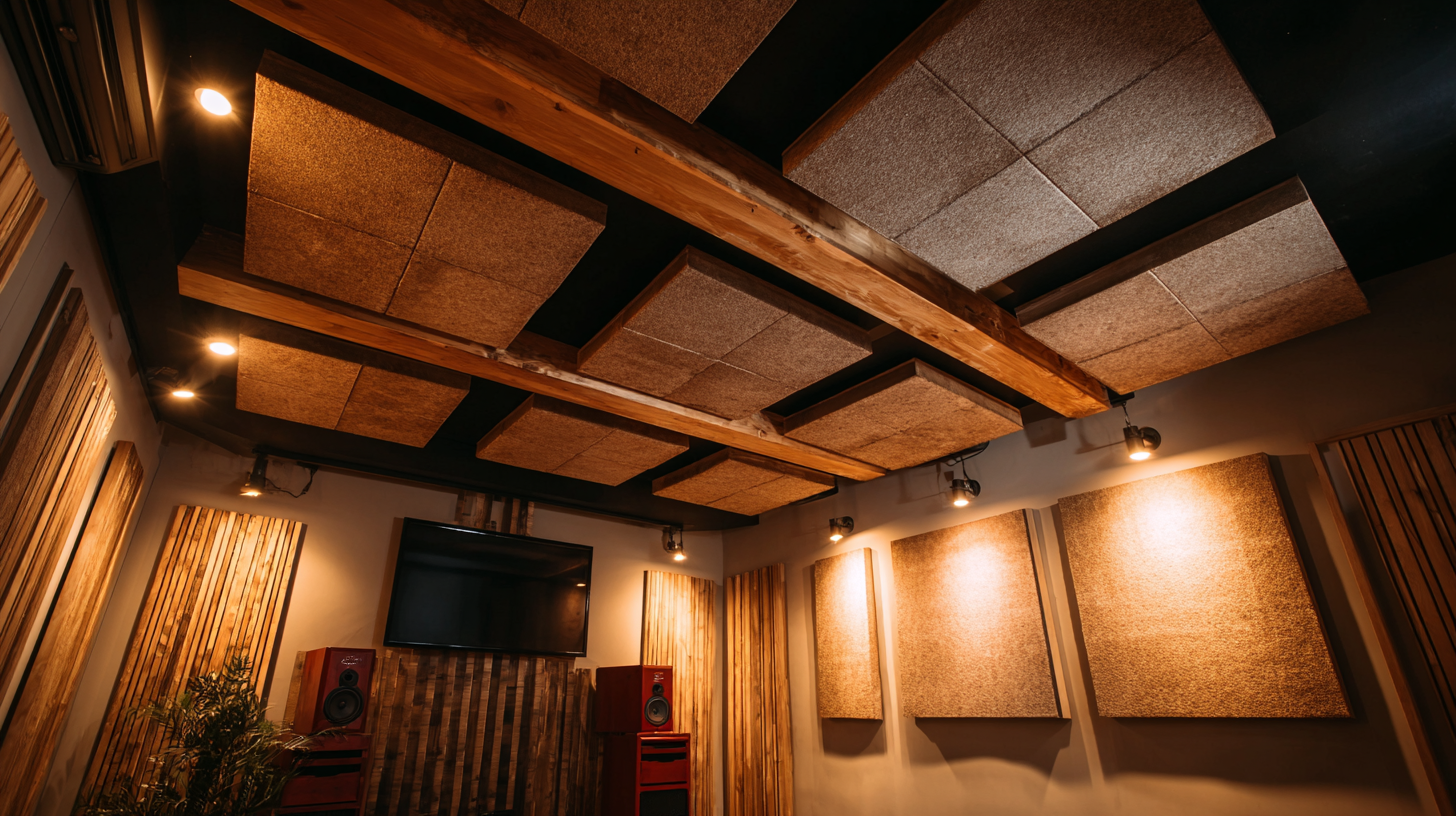
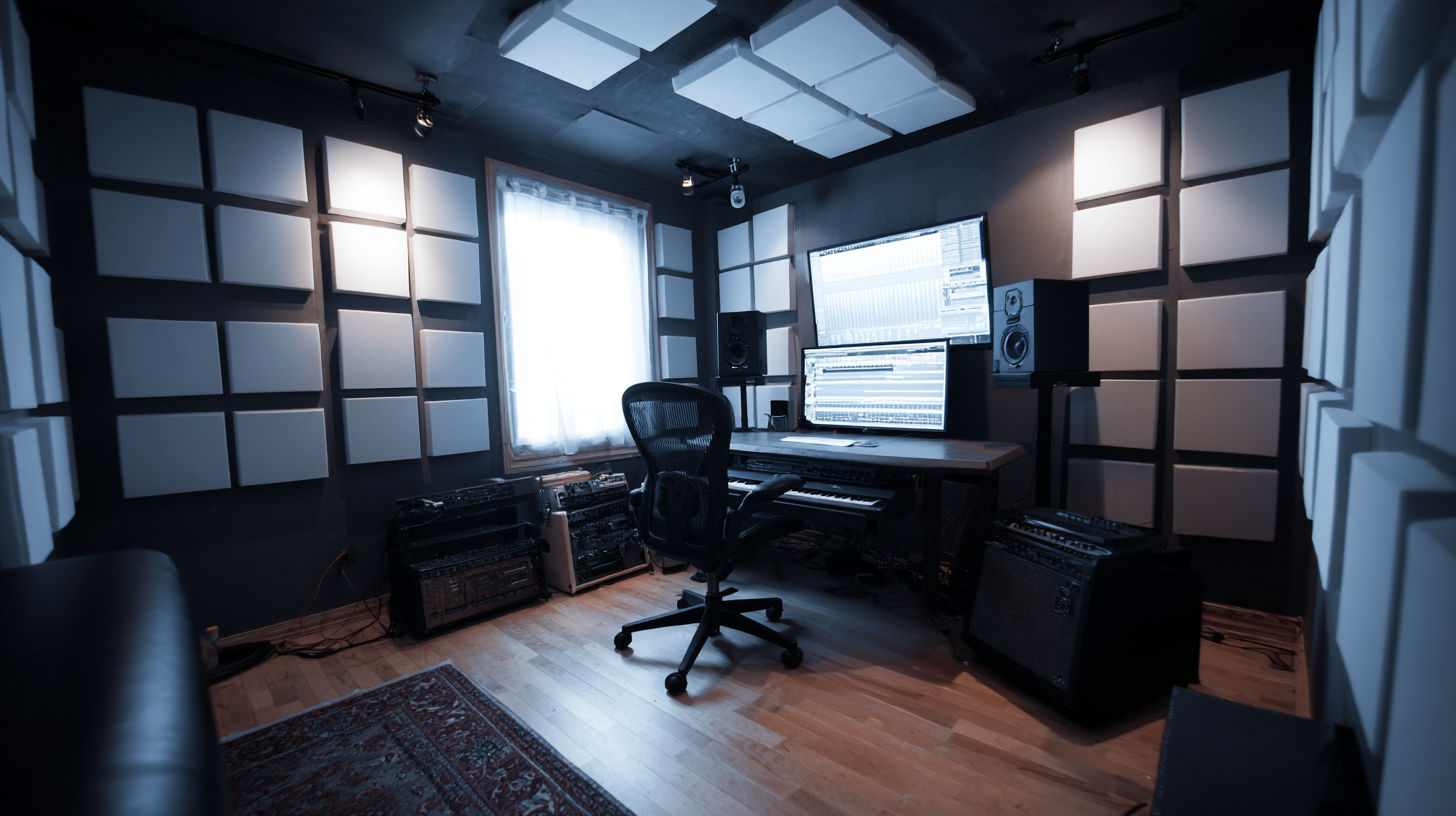
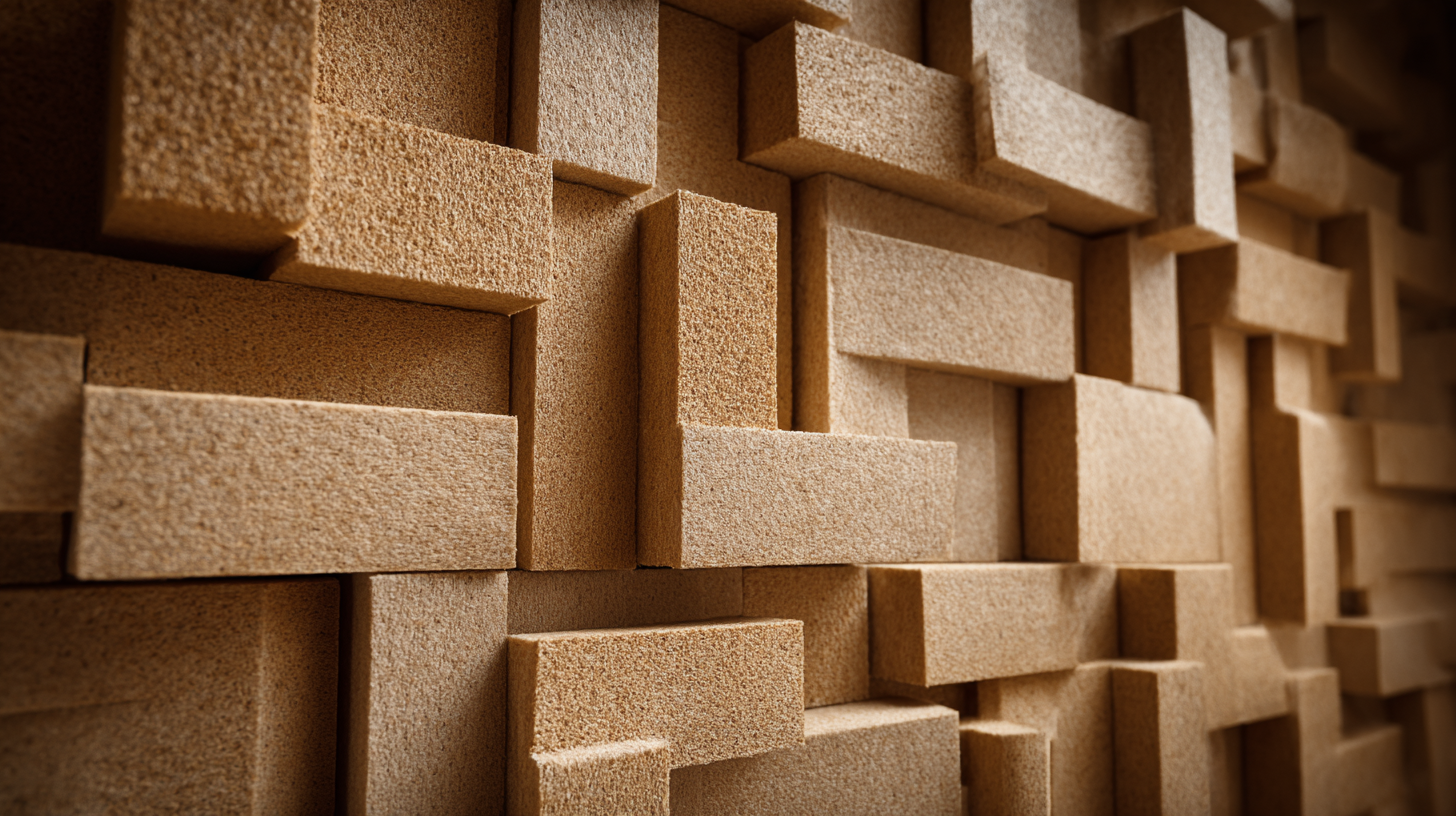
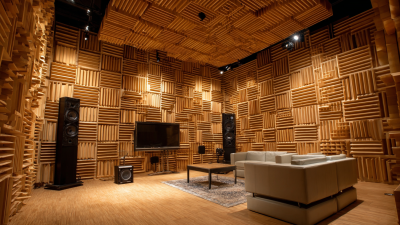
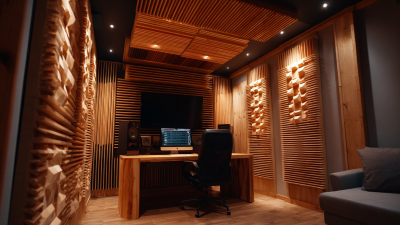
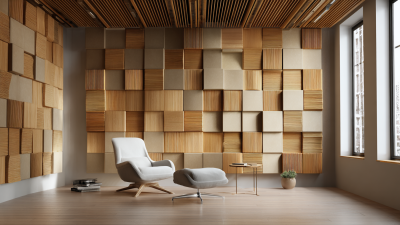
Creating your own acoustic panels can significantly enhance the sound quality of your home studio. To embark on this DIY project, it's essential to gather the right materials. High-density foam is a popular choice due to its effective sound absorption properties. You can find various thicknesses and densities that cater to different acoustic needs. Additionally, mineral wool or fiberglass panels serve as excellent insulators, preventing sound reflections and creating a more controlled sound environment.

The frame of your acoustic panels is also crucial for durability and aesthetics. Plywood or MDF (medium-density fiberboard) are often recommended for construction, providing a sturdy base to hold your insulation materials. For the outer covering, breathable fabric such as burlap or cotton allows sound to pass through while ensuring the panels look professional. Don’t forget to use adhesive or staples to secure the materials together effectively. With these essential components, you can create custom acoustic panels that not only reduce noise but also enhance the overall audio experience in your home studio.

Top 10 DIY Acoustic Panels for Soundproofing Your Home Studio

This chart displays the effectiveness of various DIY acoustic panel materials based on sound absorption coefficients measured at 500 Hz.

Step-by-Step Guide to Building Effective DIY Acoustic Panels

Building your own acoustic panels can significantly enhance sound quality in your home studio. To get started, gather the necessary materials: wooden frames, sound-absorbing insulation (like rock wool or foam), fabric for covering, and basic tools such as a staple gun, saw, and screwdriver.

Begin by cutting the wood to the desired panel size, which often ranges from 2 feet by 4 feet for optimal efficiency. Construct rectangular frames by assembling the pieces securely, ensuring they are stable enough to hold the insulation.

Next, fill the frames with the chosen insulation material. Make sure to securely fasten the insulation to prevent it from shifting. Once filled, wrap the entire frame with fabric, using the staple gun to attach it neatly to the back. This step not only enhances aesthetics but also protects the insulation.

Lastly, mount your acoustic panels on the walls strategically, ideally at first reflection points and in corners for maximum sound absorption. With careful crafting and placement, these DIY acoustic panels will dramatically improve the acoustics of your home studio, creating a more professional sound environment.

Top 10 DIY Acoustic Panels for Soundproofing Your Home Studio

Creative Design Ideas for Aesthetic and Functional Acoustic Panels

When it comes to enhancing both aesthetics and functionality in a home studio, DIY acoustic panels provide a perfect solution. By utilizing materials such as fabric, wood, and foam, you can create panels that not only absorb sound effectively but also serve as decorative elements. Opt for vibrant colors or artistic patterns that resonate with your personal style. For instance, using geometric shapes can add a modern touch, while vintage fabrics can evoke a sense of nostalgia.

In addition to color choices, consider the panel shapes and arrangements to create an eye-catching visual impact. Hexagonal panels not only break up the monotony of traditional rectangular designs but also add a touch of sophistication. Layering different sizes of panels can create a dynamic wall art piece that doubles as a sound barrier. Incorporating elements like wooden frames or backing can enhance the structural integrity of your panels while adding a rustic charm. This blend of design and functionality ensures that your home studio remains a sound-friendly environment without compromising on aesthetic appeal.

Tips for Optimal Placement of Acoustic Panels in Your Home Studio

When optimizing sound quality in a home studio, the placement of acoustic panels is crucial. According to the Acoustical Society of America, improper placement can reduce the effectiveness of soundproofing efforts by up to 30%. Ideally, panels should be positioned at first reflection points, which are areas where sound waves bounce off walls before reaching the listener's ears. Utilizing a mirror method, you can identify these points by having someone move a mirror along the walls while you sit in your recording position. Where you can see the speaker in the mirror is where a panel should be placed.


Top 10 DIY Acoustic Panels for Soundproofing Your Home Studio

Furthermore, research from the Audio Engineering Society suggests that distributing acoustic panels evenly throughout the space can enhance soundwave absorption and improve overall acoustics. For rooms with parallel walls, adding panels to the corners can help mitigate bass build-up through the use of corner bass traps, which can assist in achieving a balanced sound. By considering both strategic placement and panel distribution, you can create an acoustically optimized environment that significantly elevates the quality of your recordings.

Budget-Friendly Alternatives to Professional Acoustic Soundproofing Solutions

Creating an effective soundproofing solution for your home studio doesn’t have to break the bank. With budget-friendly DIY acoustic panels, you can significantly improve sound quality without resorting to expensive professional options. These panels can be made from readily available materials, such as foam, wood, and fabric, allowing creators to design their setups according to their specific acoustic needs.

One popular approach is using rigid fiberglass or mineral wool, both of which can be framed and covered with decorative fabric. This method not only enhances sound absorption but also adds an aesthetic touch to your studio. Another cost-effective option involves repurposing old mattresses or egg crates, which can reduce echoes and improve recording clarity. By investing some time and creativity, you can build effective acoustic panels that fit your budget and elevate your home studio’s sound quality.