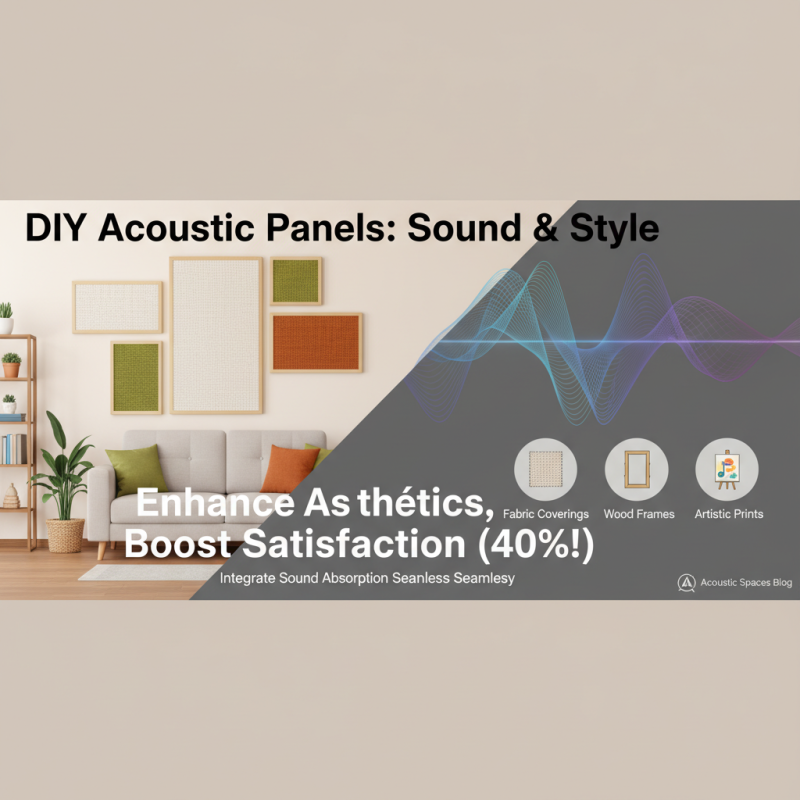
How to Make DIY Acoustic Panels for Better Sound Quality at Home
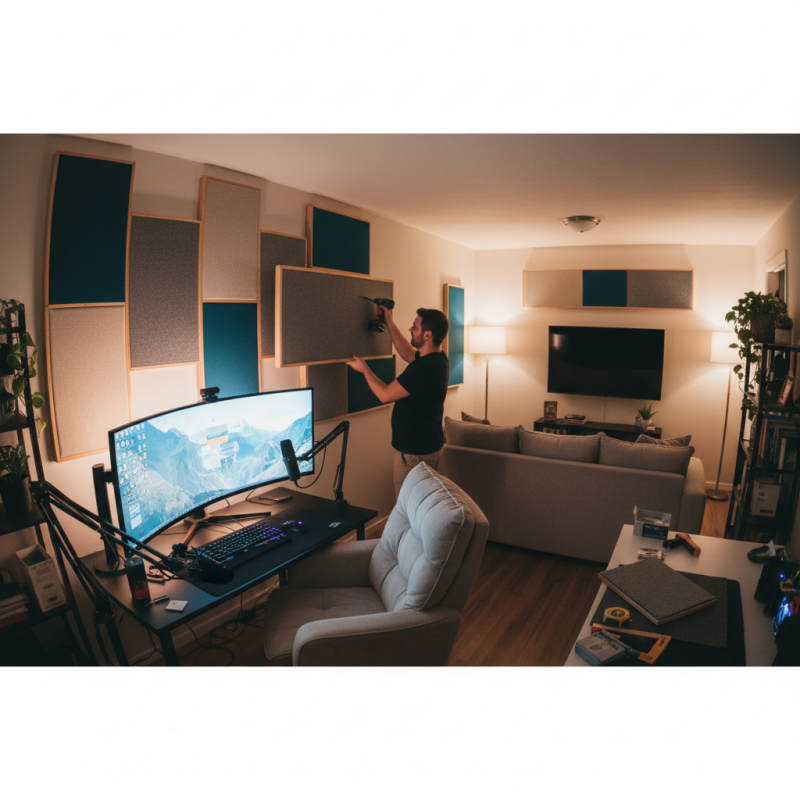
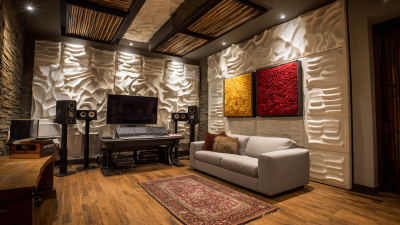
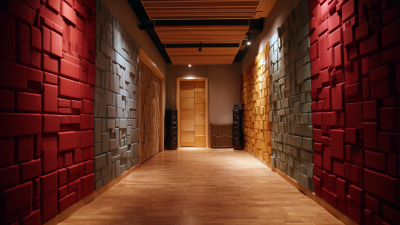
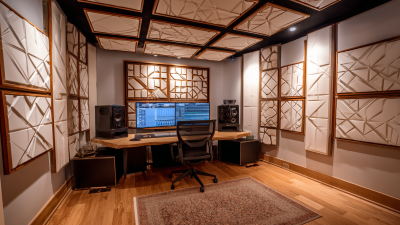
In the pursuit of a more serene and acoustically balanced home environment, many individuals are turning to DIY solutions that cater to their specific sound quality needs. One of the most effective and cost-efficient methods is the creation of DIY acoustic panels. These panels not only help to absorb sound, reducing echoes and enhancing clarity, but they also offer a creative outlet for those looking to personalize their living spaces. By utilizing accessible materials and simple construction techniques, anyone can transform their home into an ideal acoustical setting.
Creating your own DIY acoustic panels allows for a tailored approach to sound management, accommodating the unique requirements of any room. Whether you’re aiming to enhance your home studio, create a better environment for gaming, or simply improve the overall sound quality of your living area, the benefits of these panels are substantial. This guide will take you through the step-by-step process of making DIY acoustic panels that not only serve a practical purpose but can also complement the aesthetic of your home décor. Get ready to explore how you can elevate your space while enjoying improved sound quality through the art of DIY acoustic panel construction.
Materials Needed for DIY Acoustic Panels
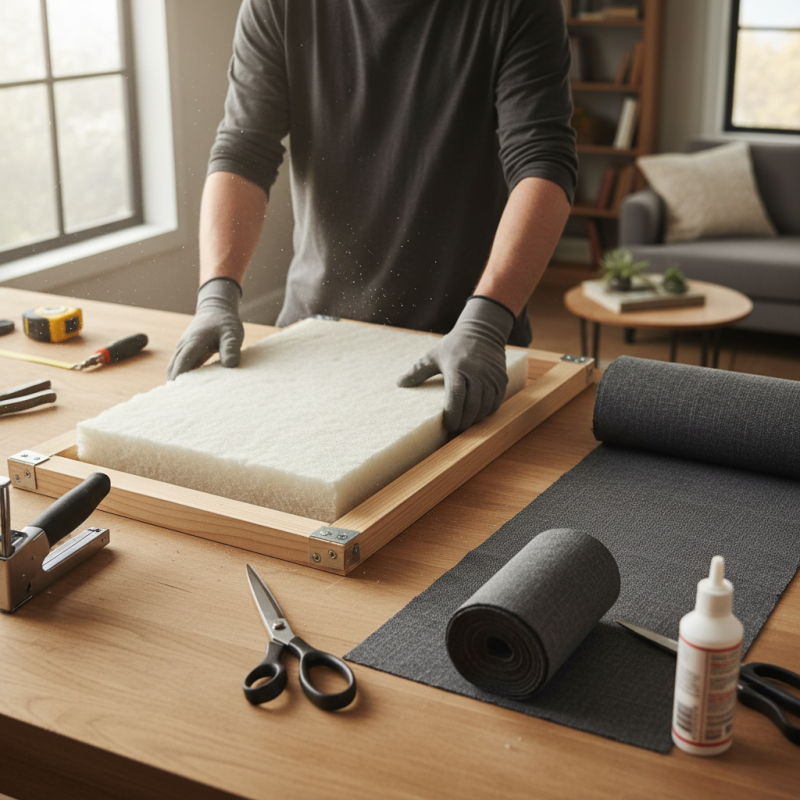
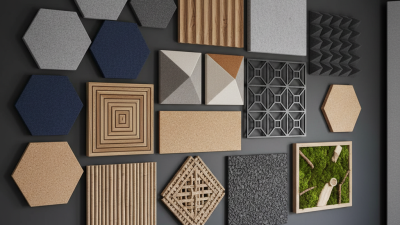
Creating your own acoustic panels can significantly enhance sound quality in your home, and understanding the materials needed is a crucial step. To build effective DIY acoustic panels, you'll primarily require sound-absorbing materials. According to industry data, materials such as mineral wool or fiberglass are highly efficient in absorbing sound across a wide range of frequencies. Specifically, mineral wool can provide a noise reduction coefficient (NRC) of up to 0.95, meaning it absorbs almost all sound that hits its surface.
In addition to the sound-absorbing core material, you will need a sturdy frame, which is generally made from wooden boards. Plywood or MDF (medium-density fiberboard) is often recommended due to its durability and ease of handling. Research indicates that a well-constructed frame can add structural integrity to the panels while allowing for easy mounting on walls.
Fabric is another essential component, not just for aesthetics but for improving absorption; breathable materials work best as they allow sound to penetrate into the insulating core. Using a fabric with an NRC rating can further improve the effectiveness of your panels.
Lastly, it's important to consider adhesives or mounting hardware. Acoustic glue helps in securely adhering the fabric to the frame, while hooks or brackets can facilitate proper installation on various surfaces. By carefully selecting these materials, homeowners can create custom acoustic panels that not only enhance sound quality but also complement their interior design, making for a more immersive audio experience.
Related Posts
-
Exploring Innovative Sound Deadening Panels at the 138th China Import and Export Fair 2025
-
Enhancing Home Acoustic Quality with Decorative Sound Panels Insights from Recent Industry Research
-
Understanding the Science Behind Sound Blocking Panels and Their Impact on Noise Reduction
-
Understanding the Benefits of Sound Dampening Panels for a Quieter Home Environment
-
Top 10 Sound Proof Panels for Enhanced Noise Reduction: Expert Insights & Trends
-

2025 How to Choose the Best Acoustic Panels for Your Soundproofing Needs